
Rick’s Discussions…. Boat Repair & Maintenance
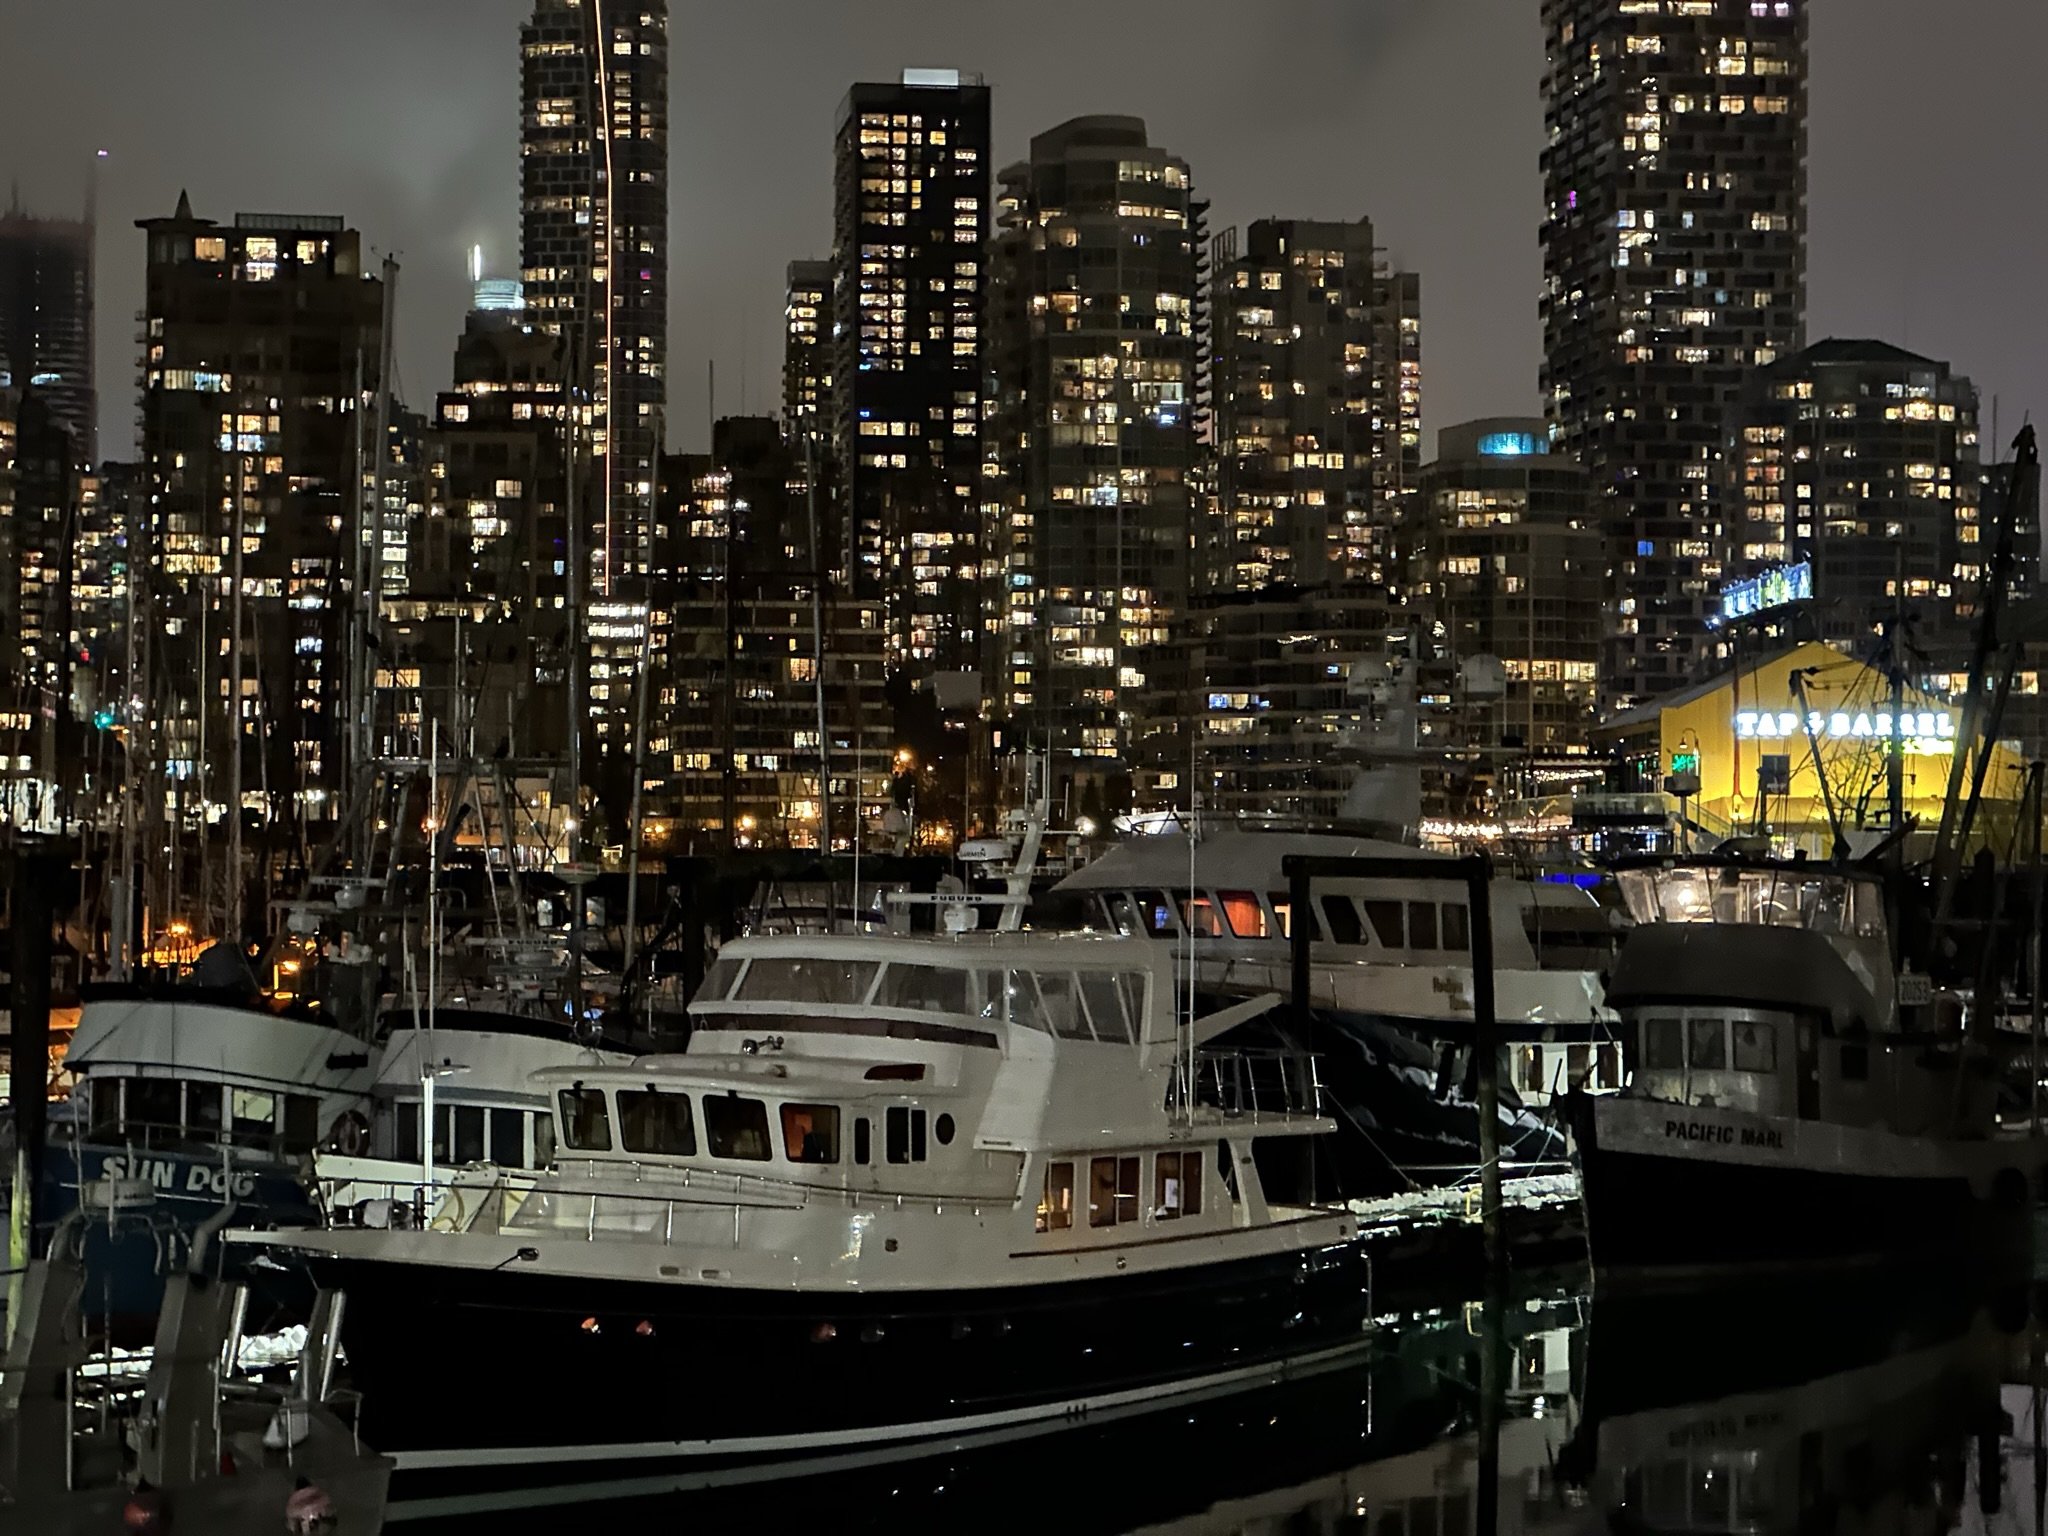
ASOS in Vancouver Harbor for night before heading North….
1. Hull and Deck Detaining
First, let me respectfully clarify a common misnomer: The word "TOPSIDE" refers to the area of the hull between the waterline and the rail. "TOPSIDE" does not refer to the deck, superstructure, or cabin of a vessel. That is, it refers to the sides of the boat that are above the waterline - i.e.: "top--sides". It sounds salty, but use of the word to mean "on deck" is incorrect. This causes confusion, especially for vendors that detail and paint boats. Someone will say "please polish my topsides." Are they referencing with the correct use of the word, meaning the hull, or are they incorrectly referring to the deck and superstructure? This comes up over and over again in the industry. Confusion is worsened by vendors who use the word incorrectly with their customers. Be sure to be clear with your vendor what area of the boat you are referencing if you use the word "topsides."
Polishing and Waxing
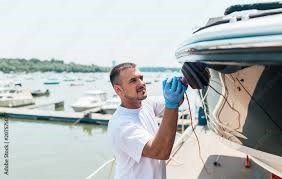
We often think of polishing and waxing of your boat to be sort of a luxury, only serving to beautify the vessel. There exists a misconception that it is an option to polish, and no harm will come to the boat if it gets put it off this year. Certainly polishing one's boat is not as important as servicing one's through-hulls, but it is still important in order to protect your investment. No one wants to pay top dollar for a boat which has no curb appeal due to a deteriorated finish. And, anyone who has either performed or paid for a paint job realizes the heavy cost of not caring for one's finishes.
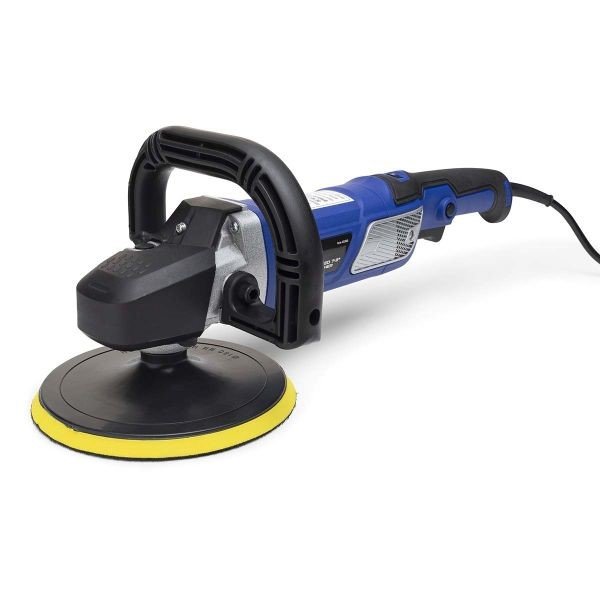
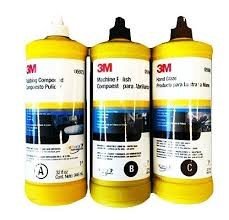
When the sun breaks down the gelcoat finish on your vessel, the surface becomes "craggy" at a microscopic level. When you run your finger against a heavily oxidized surface, the dusty, loose, granular particles are breaking off, leaving a chalky film clinging to your finger. If caught early (before the surface becomes too chalky), oxidation can be corrected by polishing. The detailer takes a thin layer of the finish off with the use of a heavy grit compound, getting down to fresh, unaffected gelcoat. The finish then needs to be polished smooth with finer and finer compounds, then ultimately waxed to protect the newly polished surface from UV rays. If left to oxidize too heavily, there is a good chance that the surface will never recover fully, and you will forever be playing catch-up in an effort to keep the vessel shiny and protected. In these cases, the deep microscopic voids in the surface are simply filled with wax after polishing, which burns out in a few months. This means that keeping the surface shiny will require multiple wax jobs per year. This is an expensive proposition, and if you do it yourself, a big commitment of physical effort. It's best to stay out in front and protect your hull from the outset of ownership. I know plenty of folks who have owned their vessel for 20+ years and their finishes look almost new every spring because they have kept up with their polishing/waxing regimen.

Gelcoat Vs. Paint
Most production boats have an outer layer of gelcoat, a polyester resin-based material that looks like paint to the casual observer, but is harder and more durable. Care of new gelcoat simply requires annual cleaning and waxing in the mid-Atlantic latitudes. Higher frequency is required in southern latitudes due to more intense sun exposure. Gelcoat can be polished with compound and a buffer if needed, then finer and finer grits are used to bring the surface to a mirror shine. Learning to polish takes time and is hard work. It is best left to professionals unless you take the time to learn how to do it properly. It is very easy to mess up a perfectly good finish if you don't know what you are doing. Paint requires an even more delicate touch to polish. Excessive heat build-up with the polisher can cause the paint to soften and smear, causing damage that may require a paint repair. Don't even attempt polishing paint unless you are fully schooled in how to do it. Leave polishing paint to professionals or do your homework on technique and definitely follow paint manufacturer's recommendations. Often paint manufacturers have their own proprietary treatments. In short, it is very important to know if your boat is painted or gel-coated, and to make sure your detailer understands the difference. In particular, they need to know how to handle your specific finish-- two-part finishes such as Awlgrip or Alexseal, one-part finishes such as Brightside Polyurethane, or resin-based Gelcoat. Don't make the assumption that because they are detailers that they know. The cost of a mis-step here can be heavy.
2. Seacock & Through-hull Maintenance
This is one of those tasks that many forget about, even though it is extremely important. Unless you are one of those folks who regularly close their through-hull valves (seacocks) when not aboard the vessel, it is common for many of us to not actuate our through-hull valves over an entire season unless there is some specific need to do so. I have often found upon inspection of a vessel that valves have not been actuated in years, rendering them seized in their current position, either open or closed. Those ailing seacocks are useless in an emergency. I can't stress enough the importance of properly-working through-hulls. We can become complacent because we could go years without needing to close a valve in haste due to an excessive leak. Still, the point of having through-hull valves is so that we can cut off flow when needed, especially in a crisis. Can you imagine the stress of having a bad leak in the boat? Well, add more stress due to your inability to stop that leak. Scary stuff to ANY boater. So, they really do need to work smoothly and easily at all times.
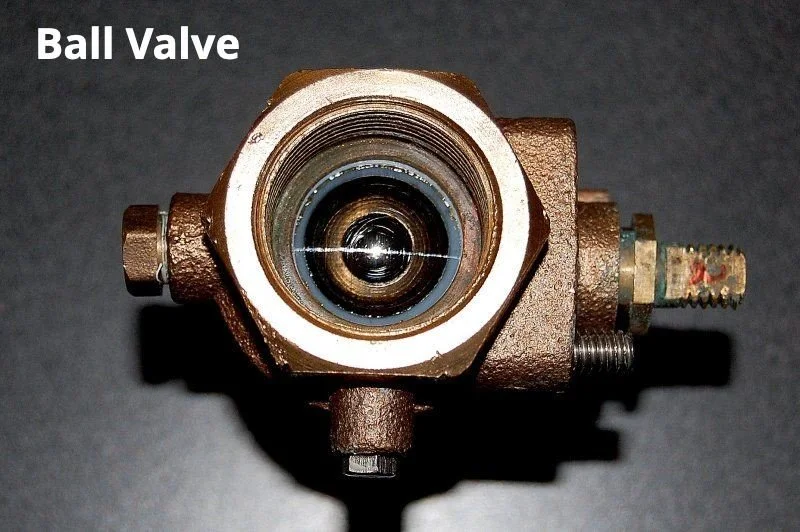
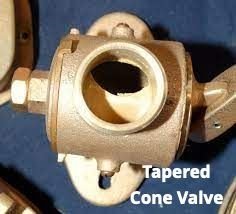
Lubrication
At every annual haul-out, your through-hulls should be lubricated. This is a simple task, which takes two people. While your helper is inside of the boat knocking on the hull to coordinate which through-hull is being addressed, the person on the outside is simply spraying inside of the through-hull opening up into the valve body to coat the surface of the moving part of the valve. I like to use white lithium grease in a spray can. Usually one can see the ball of a ball valve or the cone of a more traditional tapered cone valve. Spray, move the valve handle to open and close the valve thoroughly, then repeat. You're done! If the valve moves easily then you are likely in good shape. Some valves even come with grease fittings which allow grease to be pumped into the valve, forcing the lubricant into the appropriate wear-areas of the valve assembly. If you can't get the valve handle to move, you may need to dismantle the valve to free it up. In severe cases, the valve must be replaced. Be very careful NOT TO PUT TOO MUCH STRESS ON THE VALVE IF THE VESSEL IS IN THE WATER-- IF THE VALVE OR THROUGH-HULL BREAKS, YOU WILL HAVE A CRISIS ON YOUR HANDS! Often, tapered cone valves have been tightened too much to actuate easily in order to get them to stop leaking. In this case, the valve needs to be at a minimum dismantled, serviced and lubed, then reassembled. If it is still leaking, replacement or professional servicing is needed. Ball Valve and Tapered Cone Valve below.
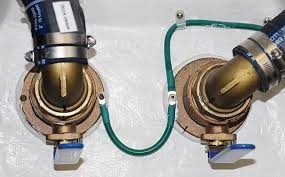
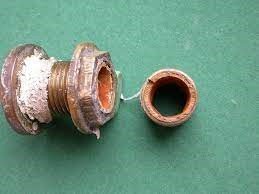
Corrosion and Bonding
While addressing your through-hulls, check to see if they are corroded. The through-hull to the right is corroded heavily and has broken. You can see the pink color of the bronze that has de-alloyed. Have an expert check your through hull fittings annually for de-alloying, or the natural process of your metals breaking down. Bronze gets pink (see to right) when the tin has leached out of the metal, leaving it brittle and prone to breakage. Check to ensure that your bonding wires are intact, terminals clean, and securely attached to the fitting (see below).
External Strainers
External strainers are often neglected. They need to be removed, cleaned and properly re-bedded. I commonly see external strainers that haven't been removed for years and the growth buildup under the fitting is severe. Be sure that the yard doesn't simply paint over the strainer without cleaning under it. Have a competent technician remove, clean, and re-bed the fitting. Sometimes the bottom paint crew lacks the sufficient skills to do the job properly. Lastly, be sure that bottom paint has not built up to the point that the strainer is not allowing sufficient flow (see below).

External Strainer
What is a Galvanic Isolator?
Mike M., one of my students from the Annapolis School of Seamanship, emailed me the question: "What is a galvanic isolator, and do I need one?" Well, the short answer is YES, if you are plugged into the dock. Your vessel's DC negative and AC safety ground (shore power) are connected together on your boat. What else is connected to these? Your engine, shaft, prop, and if you have a bonding system, all of your through-hulls. Because these safety grounding wires are also connected with every other slip's grounding wires, your underwater gear is effectively connected to everyone's underwater gear in the marina! This means that your sacrificial anodes are protecting not only your boat, but all of the other boats as well. Enter the galvanic isolator. Even though the grounding wires to the dock are purposed for AC (household) current, galvanic currents are DC and are traveling along the same wire independently. The Galvanic Isolator blocks low voltage DC current only, allowing the AC grounding wire to function as a safety conductor, while not allowing DC galvanic currents to pass, effectively blocking corrosion currents associated with other boats. If you have a corrosion problem to begin with, you should have a corrosion expert find the problem, because if the voltage of the problem exceeds the galvanic Isolator's maximum protection voltage, corrosion will continue. Also, when installing a galvanic isolator, be sure to install a "fail safe" unit. "Fail safe" is a feature of the isolator that ensures the AC safety ground remains intact (protecting against shock hazard) regardless of the functionality of the galvanic protection. If it doesn't say "fail safe", assume it is not a fail-safe unit.

How do I tell if my battery is still good?
Michael F. asks if the number of batteries that he has sitting around the garage are still good. A lead-acid battery will lose a percentage of its battery capacity just sitting on the shelf. Over the winter, it is not uncommon for a battery to self-discharge enough to be too weak to be of much use either as a house or start battery. It is good to put a battery on a trickle charger (a charger that provides a very small amount of current to the battery to keep up with self discharge and/or very small loads). If it is sitting for a long time without a charger, the lead/lead oxide inside will degrade, leaving lead sulfate in its place. This is the normal discharge process, but in this case the battery is going through the process on its own. As lead sulfate builds inside, the electrolyte (Sulfuric acid) converts to H2O - yes, that's correct, WATER! If you leave your battery in the boat and it discharges over the winter, there is a good likelihood that it will freeze and warp the plates inside causing internal shorting, rendering the battery unusable. To address testing, you can put the battery on charge, see if it comes up to it's normal voltage - for a 12V battery, 12.6 volts is fully charged and ready for use (assuming a standard lead-acid battery). You can take it to any battery supplier after charging and they can do a load test on it to determine if it is still healthy enough to use. Or, you can hire a pro to come and test the batteries if they are in the boat. You cannot go by voltage alone. It is necessary to do a load test to determine if it can produce the amperage needed for the battery to do its job.
